Quick answer
Scan the Tadpole Depth Module Mk.1 fragments around the deeper Alien Ruins route, then craft the module at the Modification Station with the required material chain. Current guide data points to Celestine, Enameled Glass, and System Chip planning, while the P7 footage shows the practical order: read the PDA clue, finish the Mk.1 recipe gate, then use the new 450 m margin for one named deep objective.
Where this route sits
P7 / Tadpole Depth Module
450 m depth gate
- Coordinate status
- Coordinate pending
- Depth checkpoint from the video route; coordinate pending.
- Bring before leaving
- Tadpole, module recipe, and a safe return path.
Coordinate record
- Video timecode
- 36:20
- Measured coordinate
- Pending 450 m route coordinate
- Depth
- Around the 450 m gate in the video route
- Entrance cue
- Confirm the depth-module route before committing below the gate.
- Safe return
- Return to the last Tadpole-safe pocket before deeper dives.
Route sub-points
 1
1PDA clue
Use this clue to confirm the correct depth-module chain.
Pending measured coordinate
Open this sub-point on map 2
2MK1 recipe frame
Record recipe coordinate separately from the deep travel gate.
Pending measured coordinate
Open this sub-point on map 3
3450 m deep route
Use as the main depth-gate coordinate candidate.
Pending measured coordinate
Open this sub-point on mapField notes for the Mk.1 push
Do not chase depth with a tired vehicle
The scan route is exactly where weak power, hull damage, and sloppy parking start to matter. Repair and charge first, then go looking for the module.
A clue is better than a guess
The P7 route opens on a PDA clue before the deep push. Read it, mark it, and avoid turning the whole run into open-water wandering.
One deep goal per trip
The first run after the upgrade should solve one thing: Feedback Resonator, a rare material loop, or a base route check. New depth is tempting. Keep it boring once.
Video stills for the P7 depth route
These P7 Bilibili frames show the complete upgrade arc: clue, Mk.1 recipe gate, and the first route where vehicle depth becomes the main constraint.
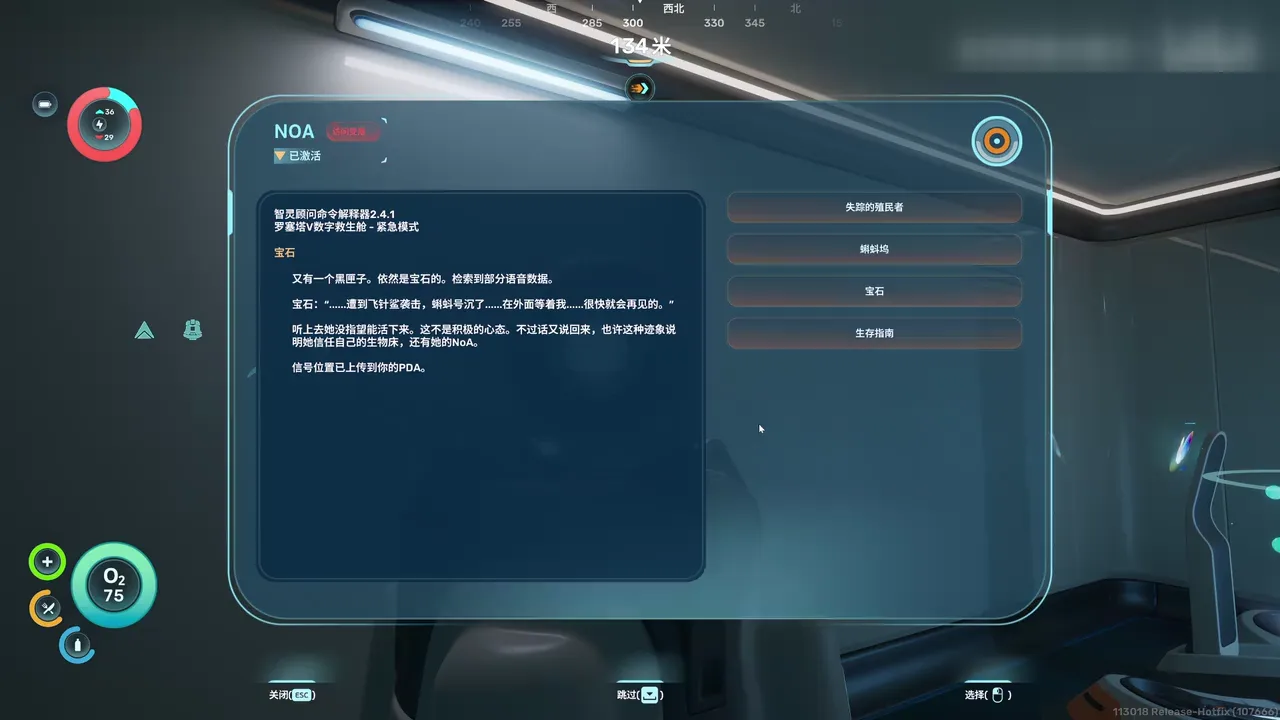
Start from the PDA clue, not from blind diving
Around 0:40, the route is still reading the clue chain at roughly 134 meters. This is the moment to mark the objective before turning the Tadpole into a deeper scout.
Source: Bilibili P7 route frame, around 00:40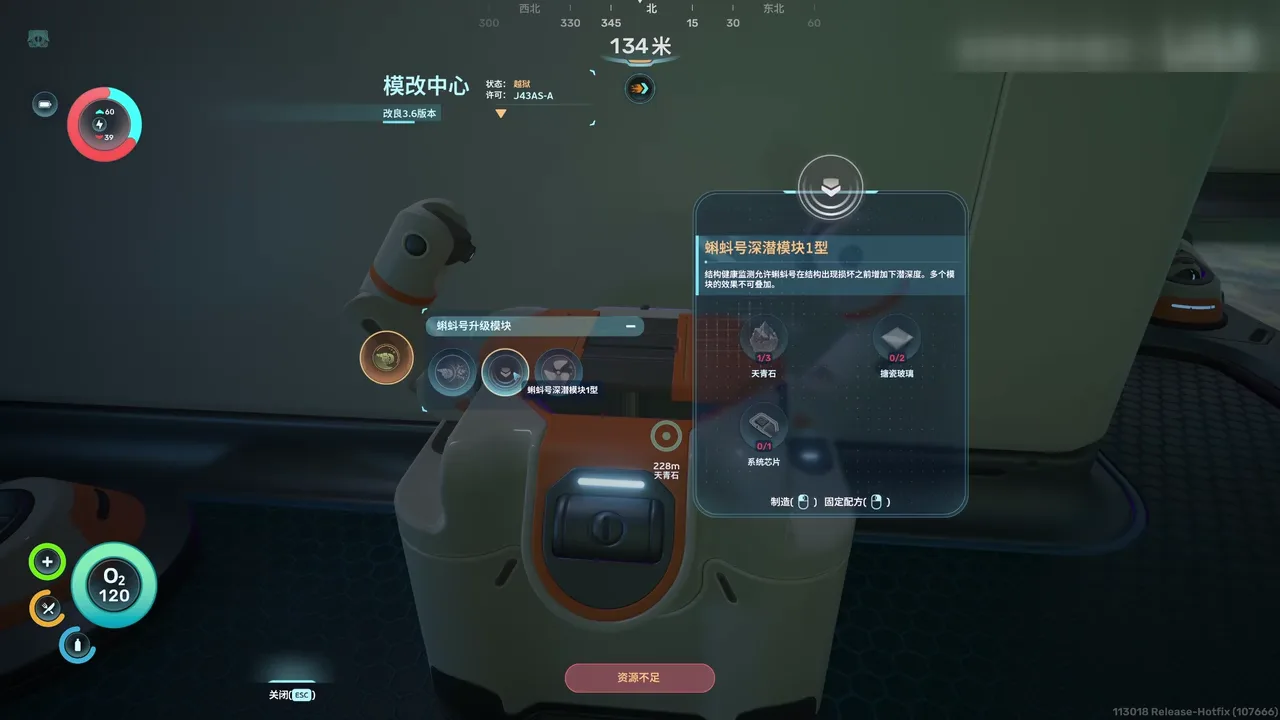
The Mk.1 craft is a material-chain check
Around 18:35, the Mod Station shows the Mk.1 recipe gate. Celestine, Enameled Glass, and System Chip planning should happen before the scan route feels finished.
Source: Bilibili P7 route frame, around 18:35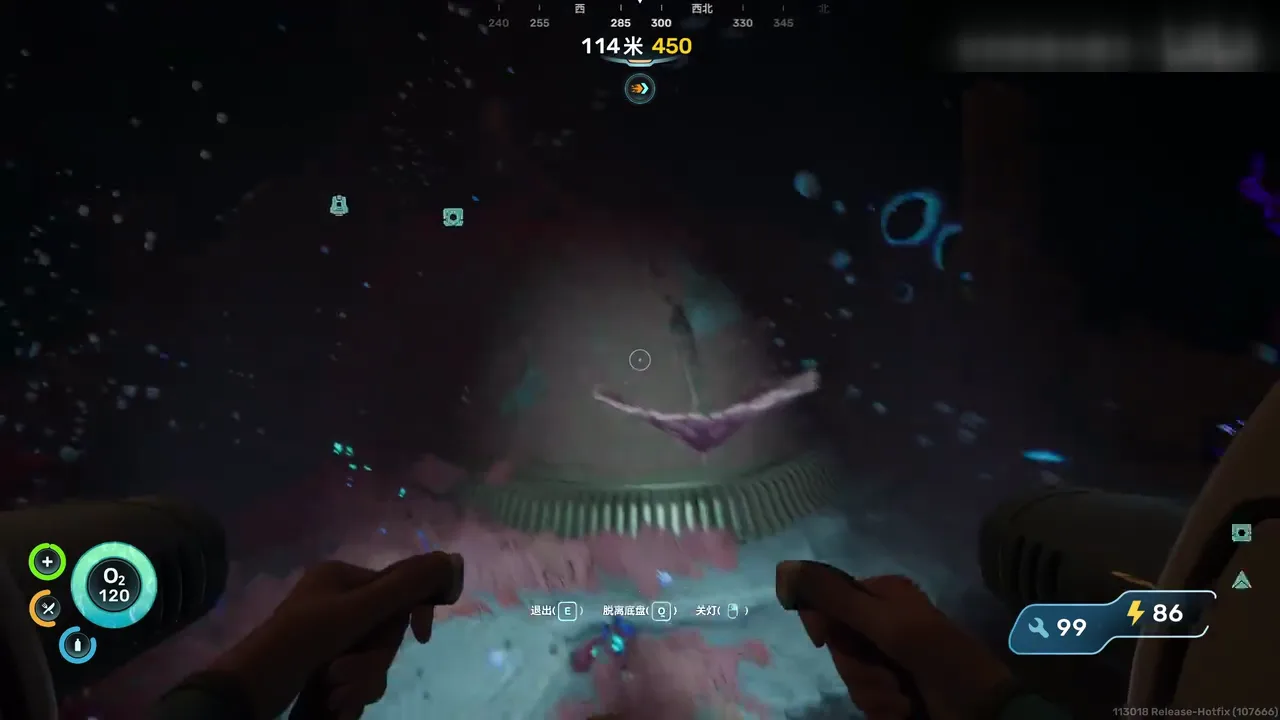
New depth changes the main limiter
Around 36:20, the Tadpole is operating against a 450 m limit with power and condition visible. After Mk.1, route planning shifts from swimmer oxygen to vehicle depth, power, and repair margin.
Source: Bilibili P7 route frame, around 36:20Notes visuelles et sources
Illustration originale
Abyss Guides utilise ses propres visuels chibi sous-marins au lieu de reprendre des captures de wiki ou des images de fans.
Source : illustration originale Abyss Guides
Bande-annonce officielle de gameplay de Subnautica 2
La vidéo sert pour l’ambiance, les véhicules et les biomes. Elle ne remplace pas des coordonnées de collecte.
Source : intégration YouTube officielle SubnauticaDepth Module route plan
Build the support chain first
Before chasing the module, make sure the Tadpole exists, the Modification Station is handled, and you have a clean way to repair and power the vehicle. Bring the oxygen plan too; the scan route is not the place to discover that your return habits are sloppy.
Read the clue before going deep
The P7 route starts by checking a PDA entry before committing to deeper water. Treat that clue as a route anchor, then mark the approach with a Beacon or a strong terrain cue.
Treat Alien Ruins as the scan zone
GameSpot points the Mk.1 scan route toward a deeper Alien Ruins area, including a Needler nest route southeast of the Alien Ruins Research Base. Use landmarks and a Beacon note instead of drifting through open water.
Solve the recipe chain at base
The P7 footage shows the Mk.1 recipe gate at the Modification Station. Current reporting lists Celestine, Enameled Glass, and System Chip in the craft chain, so do not come home with fragments and no way to finish the upgrade.
Use the new depth deliberately
Once installed, point the Tadpole toward a named objective: Feedback Resonator scans, deeper mineral loops, or a safer base route. The 450 m view in P7 is a systems check, not an invitation to wander until power feels nervous.
Upgrade chain
Clue
PDA
Read the route handoff before the deep push.
Craft
Mk.1
Celestine, Enameled Glass, System Chip, station prep.
Use
450 m
Feedback Resonator, rare minerals, and safer base loops.
Mk.1 prep checklist
| Check | Why it matters |
|---|---|
| Tadpole health and power | The scan route is hostile enough without starting on a weak battery or damaged hull. |
| Modification Station | The module is an upgrade craft, not just a loose pickup. |
| Celestine stock | The recipe chain points back to Alien Ruins mineral routes. |
| Enameled Glass | This pulls in the Creature Enamel and Needler Mango chain. |
| System Chip | Handle electronics before you come home with fragments and no way to finish the craft. |
| Named objective | The first 450 m route should answer one question, not five. |
Depth is permission to plan, not permission to wander
The first dive after installing the module should have one target. More depth makes bad route habits less obvious for a while, then punishes them when power, oxygen, or repairs run thin.
FAQ
Where do you find the Tadpole Depth Module in Subnautica 2?
Current reporting points to the deeper Alien Ruins route, including a cave below a Needler nest southeast of the Alien Ruins Research Base. Bring the Tadpole and mark the approach.
What do you need to craft the Tadpole Depth Module Mk.1?
Current guides list Celestine, Enameled Glass, and a System Chip as part of the Mk.1 craft chain, with the Modification Station needed for the upgrade work.
What does the P7 video add to this route?
It shows the practical handoff: start from a PDA clue, check the Mk.1 recipe gate, then use the expanded depth limit as a planned route tool instead of a blind exploration license.
Should I rush the Depth Module right after building Tadpole?
No. Build repair, power, Celestine, Enameled Glass, and electronics prep first. Rushing the scan route without support wastes the time the module is supposed to save.